Skip to content

$30 Cab Upgrade (this will change everything!)

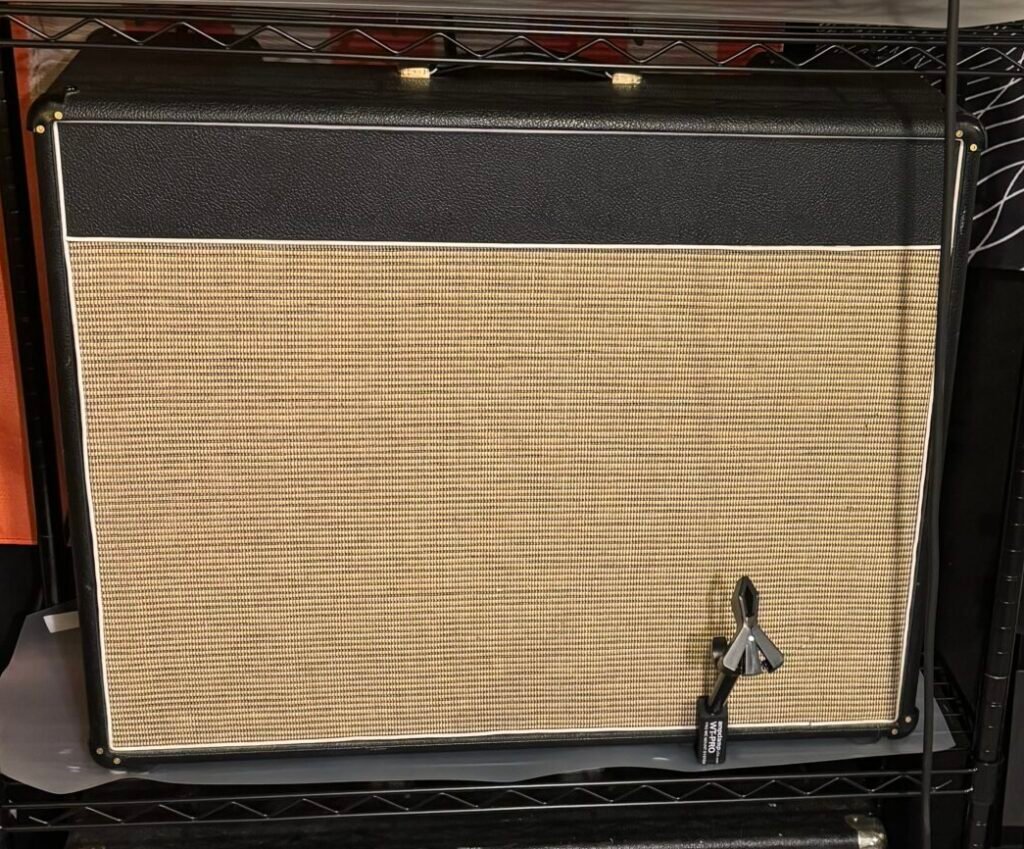
2x12 Combo amp cabinet

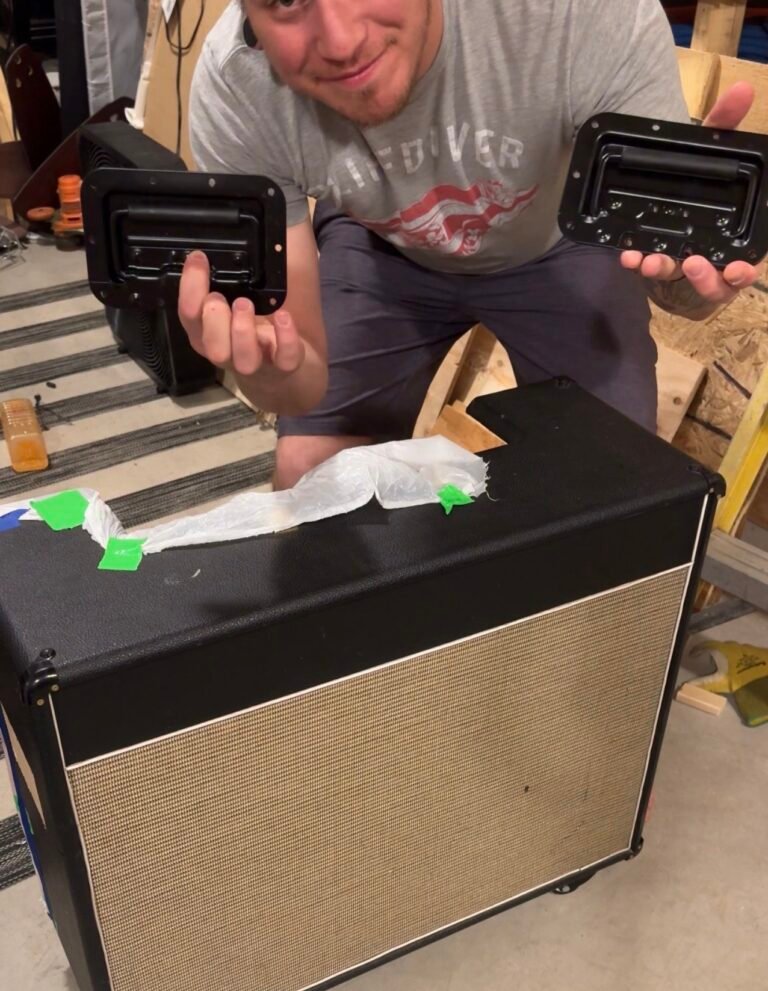
    A heavy 2×12 combo amp or extension cabinet can become a challenge to move, especially during gigs, rehearsals, studio sessions, or frequent gear rearranging. Adding spring-loaded recessed handles and locking caster wheels transforms a bulky cabinet into a portable, gig-ready solution.

    This DIY amp modification project improves convenience without changing tone, electronics, or speaker performance. Best of all, it requires only basic woodworking tools!

    If you’ve ever struggled to lift a heavy amp into a vehicle or drag it across a venue floor, this upgrade can save your back while making your setup more functional.

Why Upgrade a 2×12 Combo Amp with Handles and Casters?

A 2×12 combo amp often weighs between 50–90 pounds depending on construction, speakers, transformers, and cabinet material. Carrying that weight repeatedly can become exhausting.

Adding side handles and wheels provides several benefits:

  • Easier transportation
  • Better weight distribution
  • Faster load-in and load-out
  • Professional touring-style functionality

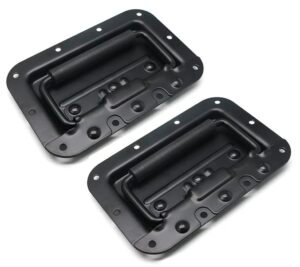
Spring-loaded handles sit flush when not in use, keeping the cabinet sleek while maintaining practicality.

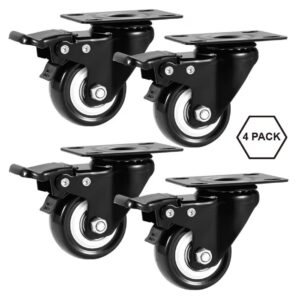
Materials You Need

Tools Needed for This Upgrade

  1. Drill with drill & driver bits
  2. Router with plunge bit
  3. Tape measure or ruler
  4. Sharpie marker
  5. Razor blade or box cutter
  6. Putty knife or scraper
  7. (optional)Heat gun or hair dryer
 

Step-by-Step Guide to Installing Spring Handles

Step 1: Measure Handle Placement

Carefully determine where the handles will sit on both sides of the cabinet. Accurate measurements are critical for:

  • Balance
  • Comfort during lifting
  • Symmetrical appearance

Use a tape measure and mark your layout clearly.


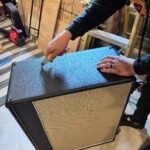
Step 2: Cut Away the Tolex

Using a razor blade or box cutter, carefully remove the tolex where the handles will mount. After removing the tolex:

  • Scrape away remaining glue
  • Use a putty knife or flat blade
  • Apply heat if adhesive is stubborn
Optional Heat Gun Technique

A heat gun or hair dryer can soften difficult adhesive for easier removal.

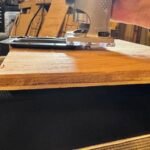
Step 3: Set Router Depth Using the Handle

Place the spring-loaded handle on a flat surface. This acts as a depth guide when setting your router bit.

Important!

You want the handle to sit flush with the cabinet surface.

Make sure you lock the depth correctly so you do not cut all the way through the plywood

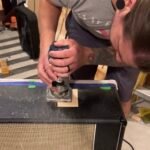
Step 4: Carefully Route the Wood

Using a plunge router, remove the recessed section of plywood.

  • Work slowly
  • Make shallow passes
  • Avoid rushing
  • Stay inside your marked lines


Step 5: Remove Debris and Test Fit

Vacuum or brush out the routed cavity. Place the handle into position to mark pilot hole location and check:

  • Fitment
  • Alignment
  • Screw location

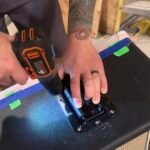
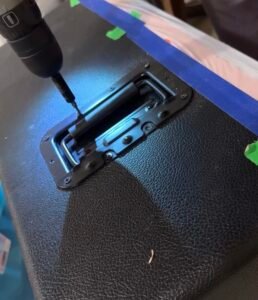
Step 6: Drill Pilot Holes

Drill carefully into marked locations.

Pilot holes help prevent plywood splitting.


Step 7: Install the Spring Handle

Place the handle into position.

Use supplied screws to secure it tightly.

Repeat the same process on the opposite side.

Step 8: Remove Existing Rubber Feet

Flip the cabinet upside down.

Remove factory-installed rubber feet from all corners.

Step 9: Position the Casters

Place caster wheels where they will mount. Mark screw locations.

Placement Tip

Keep wheels evenly aligned for smooth rolling.

Step 10: Drill Pilot Holes for Casters

Pilot holes make installation easier.

This prevents stripping screws or damaging cabinet wood.

Step 11: Attach Caster Wheels

Install all four caster wheels securely.

Check for:

  • Tight screws
  • Even wheel contact
  • Stability

How This Upgrade Improves Gigging

Musicians who transport gear regularly know how valuable mobility upgrades can be.

Adding handles and casters means:

  • Faster venue setup
  • Easier trailer loading
  • Less lifting fatigue
  • Better cabinet protection

This simple modification makes your amp feel more roadworthy.

Section Title

$30 Guitar Cab Upgrade – (this will change everything)

$30 Cab Upgrade (this will change everything!)     A heavy 2×12 combo amp or extension cabinet can become a challenge to move, especially during gigs, rehearsals, studio sessions, or frequent...

Russian Circles Blood Year Review – Heavy, Ambient Post-Metal Explained

 Russian Circles don’t bother explaining how you’re supposed to feel, they just drop these massive, grinding riffs on you until the noise lines up with whatever mess you’re carrying...

Sticks And Stones

A nostalgic dive into New Found Glory’s Sticks and Stones, the pop-punk album that soundtracked middle school summers, late-night gaming, and the moment music started to feel like it was really mine...

Loud, Fast Ramones – Their Toughest Hits

This album taught me that you didn’t need to be flashy to be powerful — you just had to mean it. The Ramones showed me that simplicity is a weapon, that three chords and two minutes can change...
Album Of The Week

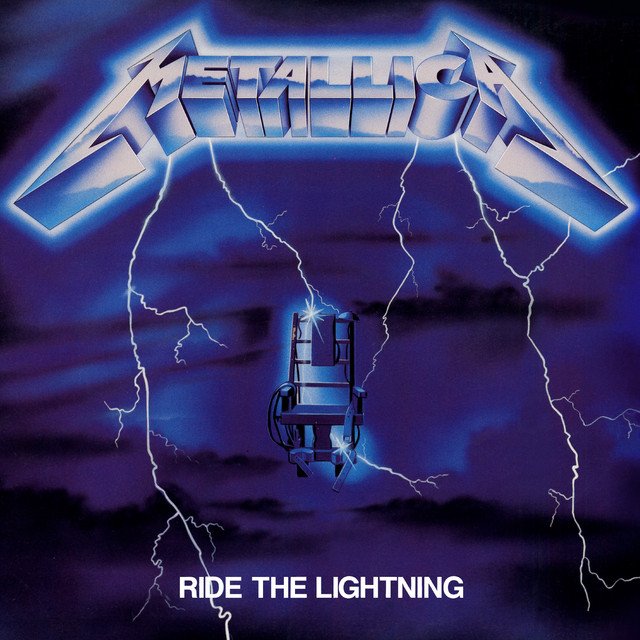
Amped Album Of The Week The One That Started It All Ride The Lightning – Metallica Release Year: 1984 Genre: Thrash Metal Favorite Tracks: Fight Fire With Fire, Creeping Death Let’s Set The...

The Best Ear Protection for All Ages

Live music events are a fantastic experience for people of all ages, but they can also pose a risk to hearing health. From infants to adults, it’s essential for everyone to consider ear protection...