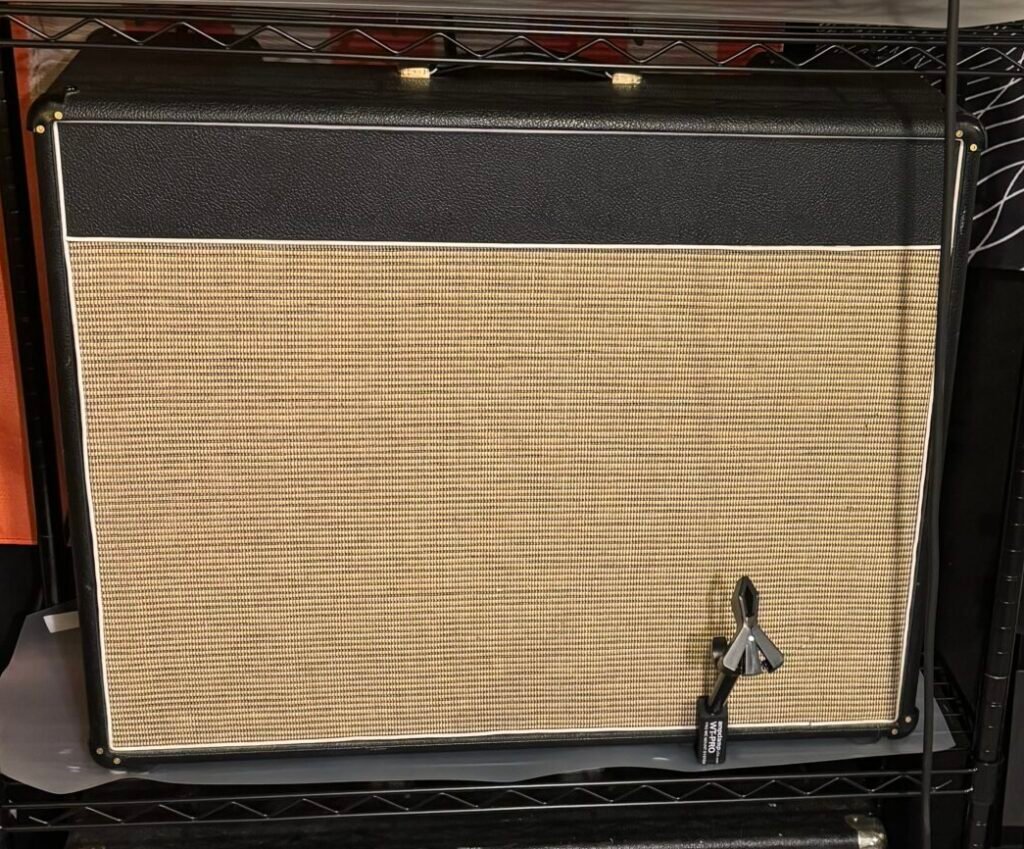
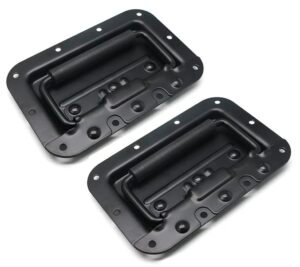
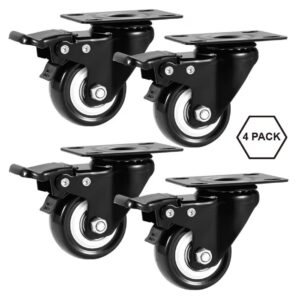
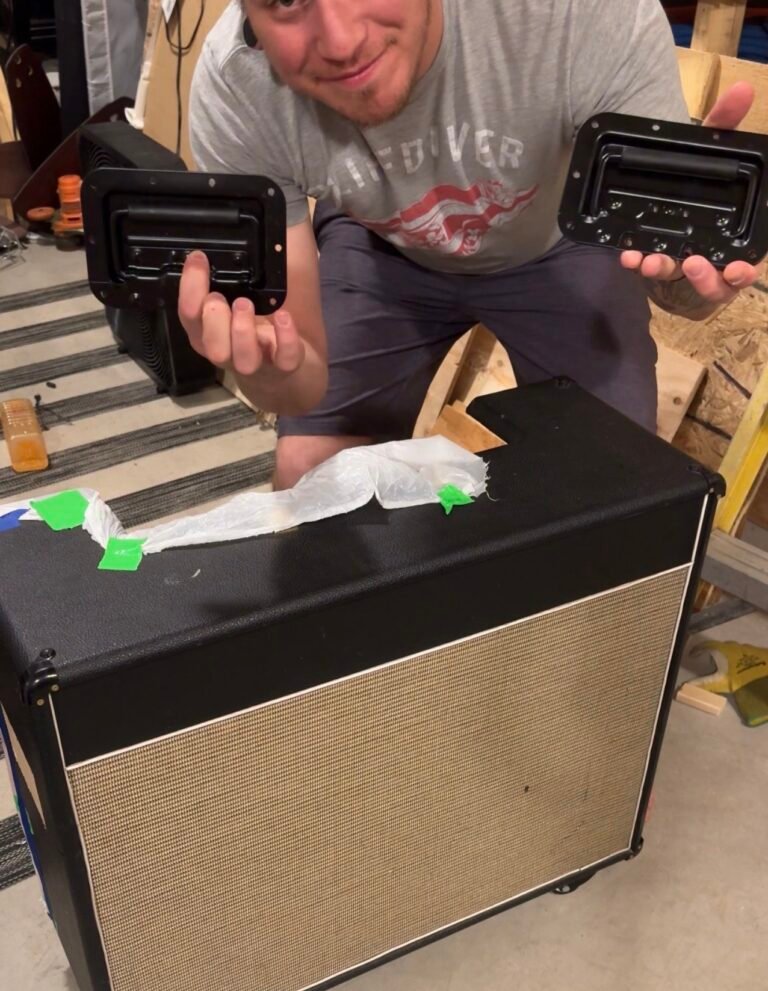
A heavy 2×12 combo amp or extension cabinet can become a challenge to move, especially during gigs, rehearsals, studio sessions, or frequent gear rearranging. Adding spring-loaded recessed handles and locking caster wheels transforms a bulky cabinet into a portable, gig-ready solution.
This DIY amp modification project improves convenience without changing tone, electronics, or speaker performance. Best of all, it requires only basic woodworking tools!
If you’ve ever struggled to lift a heavy amp into a vehicle or drag it across a venue floor, this upgrade can save your back while making your setup more functional.
A 2×12 combo amp often weighs between 50–90 pounds depending on construction, speakers, transformers, and cabinet material. Carrying that weight repeatedly can become exhausting.
Adding side handles and wheels provides several benefits:
Spring-loaded handles sit flush when not in use, keeping the cabinet sleek while maintaining practicality.

Carefully determine where the handles will sit on both sides of the cabinet. Accurate measurements are critical for:
Use a tape measure and mark your layout clearly.

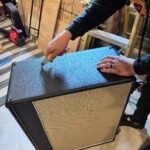
Using a razor blade or box cutter, carefully remove the tolex where the handles will mount. After removing the tolex:
A heat gun or hair dryer can soften difficult adhesive for easier removal.

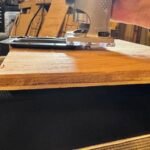
Place the spring-loaded handle on a flat surface. This acts as a depth guide when setting your router bit.
You want the handle to sit flush with the cabinet surface.
Make sure you lock the depth correctly so you do not cut all the way through the plywood

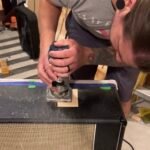
Using a plunge router, remove the recessed section of plywood.
Vacuum or brush out the routed cavity. Place the handle into position to mark pilot hole location and check:

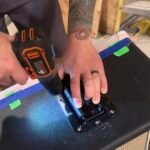
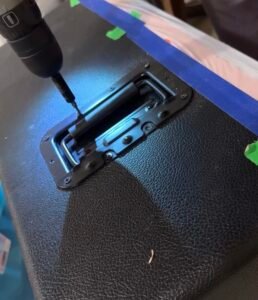
Drill carefully into marked locations.
Pilot holes help prevent plywood splitting.
Place the handle into position.
Use supplied screws to secure it tightly.
Repeat the same process on the opposite side.

Flip the cabinet upside down.
Remove factory-installed rubber feet from all corners.
Place caster wheels where they will mount. Mark screw locations.
Keep wheels evenly aligned for smooth rolling.
Pilot holes make installation easier.
This prevents stripping screws or damaging cabinet wood.
Install all four caster wheels securely.
Check for:
Musicians who transport gear regularly know how valuable mobility upgrades can be.
Adding handles and casters means:
This simple modification makes your amp feel more roadworthy.